Tips from an Interior Designer on Photographing Commercial Interiors
Whether you’re a client looking for a photographer to take photos of your space, a design firm looking for the right photographer, or just someone aspiring to get into interior photography, if you follow these key points you’ll be on your way to creating great photos. Although these are merely guidelines in the world of photography, it’s important to remember to get creative and develop a visual aesthetic that reflects your work and brand identity.
Why Professional Photography Matters in Interior Design
Professional interior photography captures the true essence of a space — its design details, atmosphere, and functionality. For designers, it’s a chance to showcase craftsmanship and spatial planning. For clients, it communicates brand values and enhances marketing assets.
Whether shooting office space photography, healthcare interior photography, or retail design, the right approach ensures the space looks its best, conveying both aesthetics and usability. In the world of commercial interior design, photography plays a key role in telling the story of the space.
Gear – The Essential Toolkit
The essential toolkit for photographing commercial interiors includes four simple components. This isn’t a strict rule, but a reliable foundation for consistent, high-quality imagery:
- A sturdy tripod to keep all moving parts level.
- A wide-angle lens (16–35mm) for larger rooms, and a 50mm lens for detail shots.
- Tilt screens and live viewfinders to double-check framing and alignment.
- A shutter release or 2-second timer to reduce camera shake, ensuring clean, defined shots.
These tools form the basis for professional results in commercial space photography best practices.
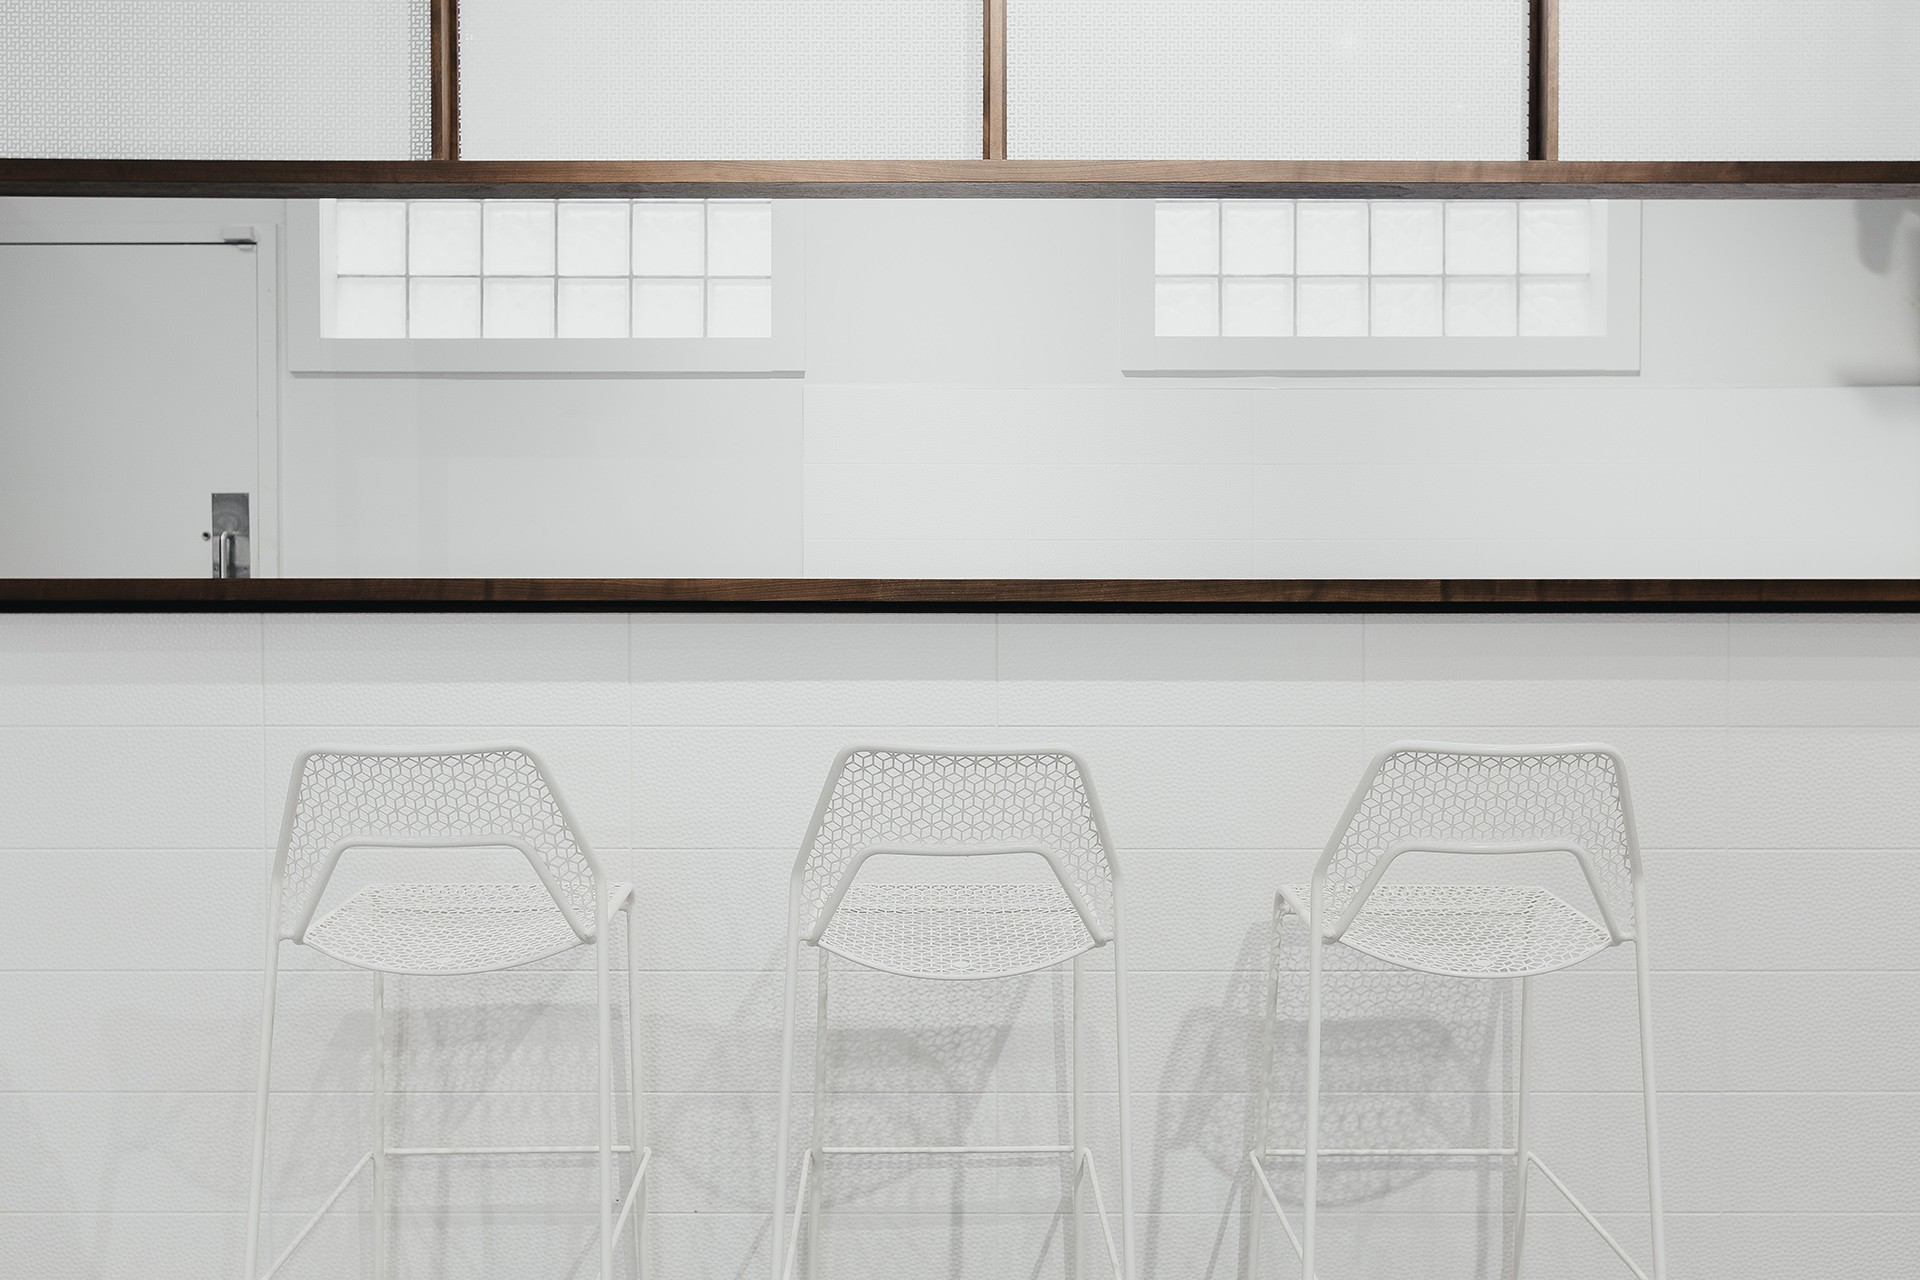
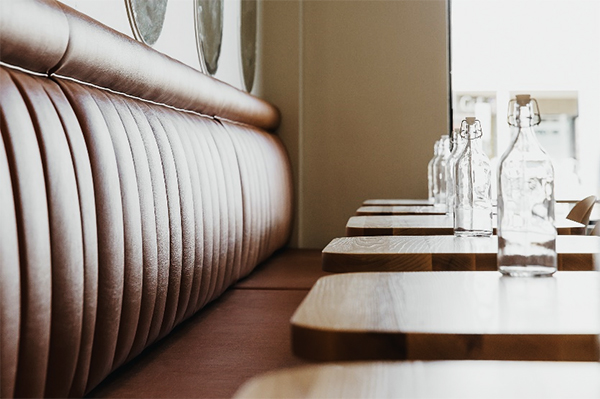
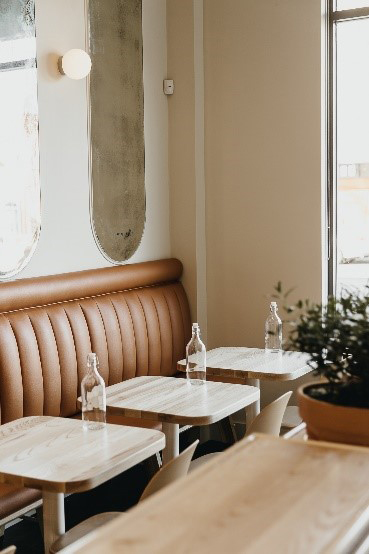
Composition – Are the Lines Working for You?

Height plays a major role in composition. Photography is visual storytelling – perspective can make or break the shot. While perspective distortion can be corrected in post-production, it’s better to plan your setup carefully. Set your tripod to mid-room height to maintain level vertical and horizontal lines.
Ensure your lines lead to the subject rather than creating visual noise. Remove distracting items that might look busy once photographed. Designers plan every detail of a space; your photo should reflect that. If budgets don’t allow for new styling, consider sourcing props from local shops – it enhances your composition while supporting local brands.
Remember, branded interior photography is about storytelling. Objects, lighting, and composition work together to communicate the brand’s essence subtly and intentionally.
Lighting – A Visual Frame for Your Subject
Lighting defines mood. In interior design photography, how light interacts with surfaces and materials determines the emotion of the photo. Natural daylight is generally ideal for both retail design and office design photography, offering a soft balance between highlights and shadows.
Avoid shooting directly at bright windows to prevent overexposure; instead, shoot at an angle to maintain detail. Try bracketed exposures to capture a full lighting range – especially useful when editing later.
 Under Exposure
 Normal Exposure
 Over Exposure
In healthcare design or fitness design, controlled lighting may dominate. When possible, switch off unnecessary artificial lights and use a fill flash to soften harsh shadows. This creates balanced, realistic results suitable for professional interior photography.
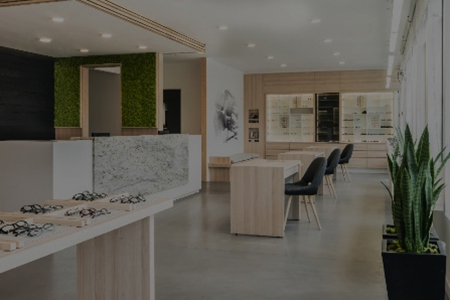
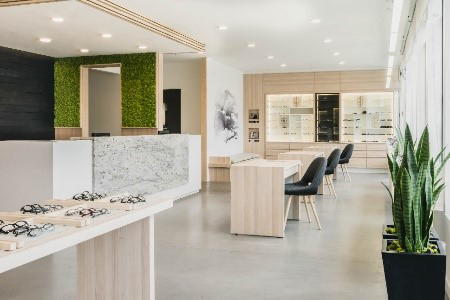
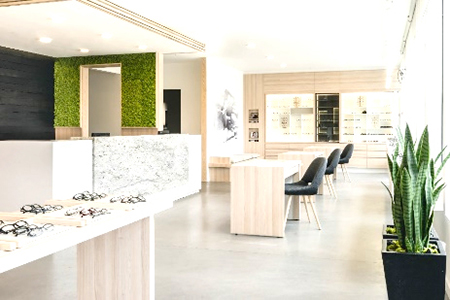
- Retail Spaces: Focus on branded materials, product displays, and the overall customer experience.
- Office Design: Capture collaboration zones, ergonomic features, and brand-aligned décor.
- Healthcare Design: Highlight accessibility, comfort, and professional aesthetics.
The goal in every case is to create images that are visually consistent, brand-aligned, and emotionally engaging.
Tips to Highlight Brand Identity Through Interior Photography
All spaces reflect a brand’s personality. In commercial interior design, strong imagery communicates that story instantly. Discuss visual goals with your client before the shoot – are they looking for clean and modern, warm and welcoming, or bold and artistic?
- Match your photo style to brand tone and colour palette.
- Maintain consistency in angles and lighting across the photo set.
- Focus on storytelling rather than simple documentation.
Ultimately, strong branded interior photography creates a cohesive visual identity that connects physical design with digital representation.
FAQs
What is interior photography?
Interior photography focuses on capturing the aesthetics and functionality of designed spaces through composition, lighting, and storytelling.
Why is professional photography important for interior design projects?
Professional interior photography showcases design quality, brand story, and functionality — helping clients and stakeholders understand the value of a project.
How can I find the right photographer for my commercial interior space?
Look for photographers with experience in photographing commercial interiors and branded interior photography, who understand lighting, layout, and brand communication.
Can good interior photography enhance my company’s marketing?
Absolutely. High-quality imagery enhances visibility, strengthens brand perception, and attracts clients — particularly in competitive industries like healthcare design, retail design, and office design.